
Getting started
Your first ride in Last Stop
Get the bus moving, keep fuel and useful equipment, then turn spare loot into supplies at terminals. Your first goal is a prepared, steady run through the checkpoints.
On this page
Before the bus leaves
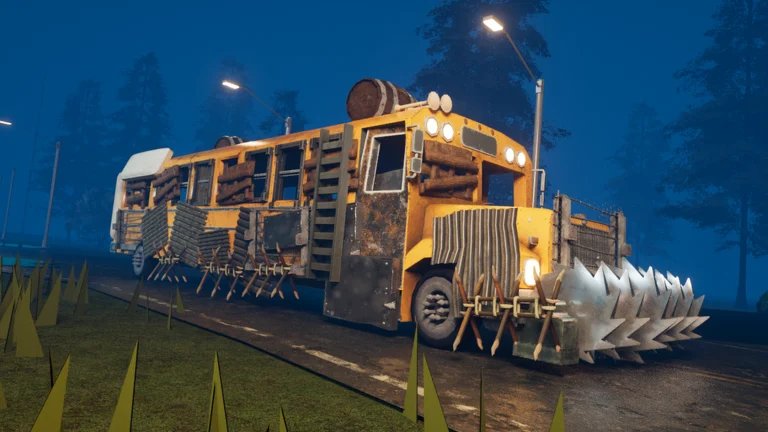
Last Stop [Beta] is a Roblox survival game by The Hidden Route. You travel by bus through a dangerous landscape, search abandoned buildings, sell loot and fight zombies and bosses. The bus is your shared transport and the center of your preparation.
Start by learning the difference between holding, equipping and attaching an item. An object in your hands is not necessarily fitted to the vehicle. Check the wheels and fuel before the driver sets off; in the opening of DV Plays’ team run, players fit wheels and collect fuel before leaving.
- Find the bus and help with the initial wheels and fuel.
- Keep a usable melee weapon and learn the grab, equip and drop controls.
- Open your inventory and leave room for the next useful pickup.
- In a group, agree who drives and when everyone is ready to leave.
PC controls at a glance
These are the controls published on the Roblox experience page. On a touch device, follow the buttons shown by the game. Use Inspect when choosing equipment instead of assuming every copy of an item has the same properties.
| Key | Action |
|---|---|
| Click | Grab action or shoot |
| Z | Place a build or attach an item |
| E | Equip or use an item |
| Q | Drop the item |
| R | Reload your gun |
| Tab | Open inventory |
| Y | Inspect |
Make each stop pay for the next one
A useful stop solves a problem: fuel for the bus, food for your character, ammunition for a weapon you own, or saleable loot to pay for the next terminal visit. Collecting everything can fill the inventory while leaving the actual shortage unresolved.
Ricoko’s solo route prioritizes higher-rarity sale loot and keeps an Iron Sword for ordinary fights. Treat that as a practical route choice, especially when ammunition is limited. A gun without its matching ammunition does little to help the next checkpoint.
- Keep the supplies your current journey needs before selling duplicates.
- Use terminals to turn spare loot into fuel, ammunition and equipment.
- Tell teammates which ammunition you need before they sell their haul.
- Set a return point before entering a building so the bus is easy to find.
Understand the checkpoint loop
The solo walkthrough clears checkpoint enemies, collects a key and opens the locked area to rescue an NPC. Later, the run reaches a bridge section with additional waves. A closed gate is a reason to check the remaining enemies and objective prompts.
For a first clear, finish the objective before spreading out for loot. Keep a melee option available and reload while the area is calm. Before leaving, check that the rescued character and your teammates are accounted for.
Choose a run goal
An 80 km solo run and an 80 km run with a full team of four have separate badges. The Traveller series instead tracks total distance, beginning at 100 km. Decide whether you are learning the road, chasing a distance badge or aiming for a particular ending.
Fred has separate defeat and cure endings. If your group is attempting Cure Fred, agree on that before the final encounter so a teammate does not end the fight by killing him. Open the ending guide when you are ready for spoilers.
Watch the gameplay
Sources
- Last Stop [Beta] — The Hidden Route on Roblox ↗
- Last Stop Roblox How to Solo Easy Fast Win for Beginners ↗
- How we beat Last Stop Roblox ↗
- Traveller I — Roblox badge ↗
- Solo Pro — Roblox badge ↗
- Team Player — Roblox badge ↗
Found a change in the Beta? Send a correction.